-

 Sewing Machine Guide
Sewing Machine Guide
$ 3.79
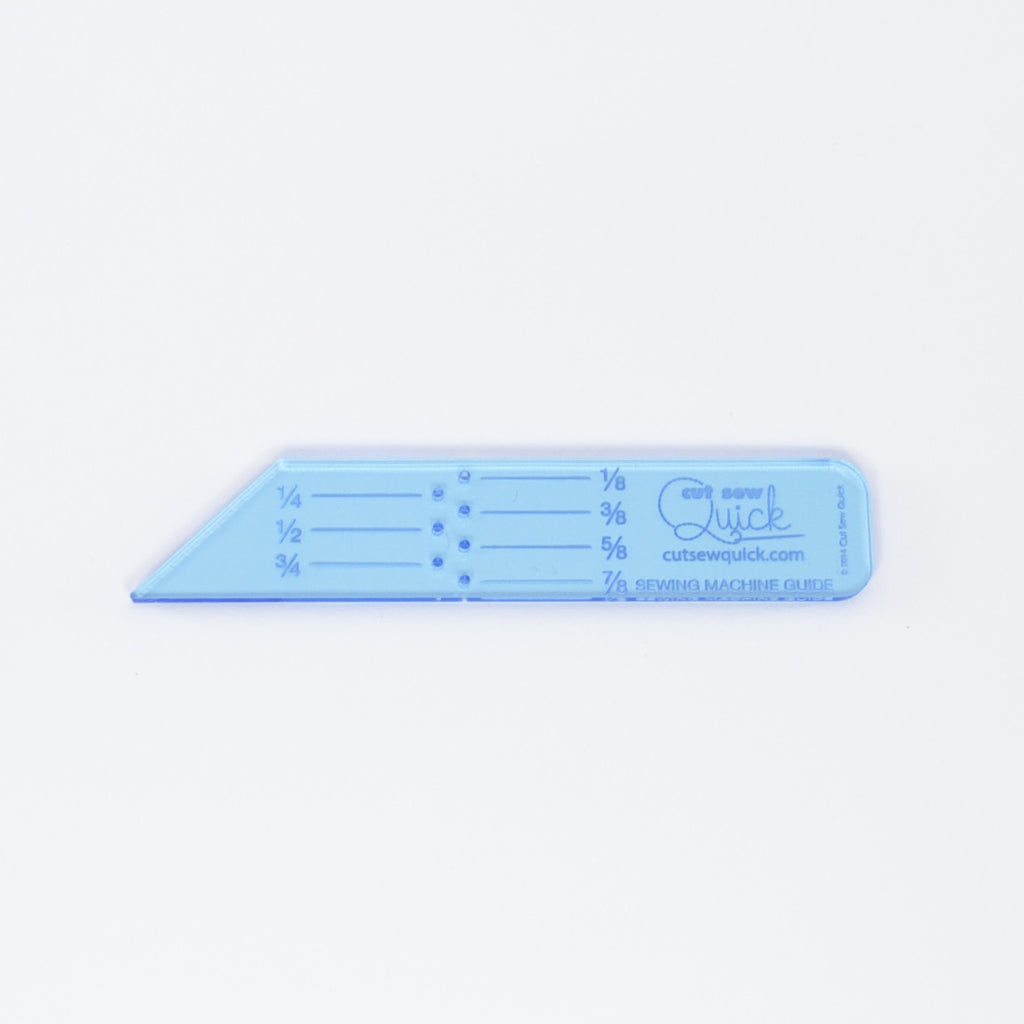
This handy little tool allows you to set your sewing machine's needle position to the desired seam width, taking the guesswork out of the usual process of trial and error. It can also be used as a point turner.
Getting your seam allowance just right for your project is important. We've positioned the holes (and their respective lines) in ⅛" increments, allowing you to set your needle to fit all your sewing needs - including a quarter inch seam for quilting. The Sewing Machine Guide is marked for ⅛", ¼", ⅜", ½", ¾", ⅝", or ⅞"seam allowance.
How to Use It
Sewing Machine Guide (a.k.a. Seam Guide): With both the sewing machine's needle and presser foot raised, position the hole of the desired seam width beneath your sewing machine's needle. Slowly lower the needle using the hand wheel, ensuring you do not bump the acrylic.
Caution: Bumping the acrylic could dull your needle and possibly break bother your needle and the sewing machine guide. Be careful!
Once you have the needle fully lowered, adjust the needle position of your machine.
Note: If your machine won't let you adjust the needle position while the needle is down, you'll have to play with moving the needle position and lowering the needle until you arrive at the desired position.
Ideally, the edge of the sewing machine guide should land at the right edge of your presser foot. If that is not possible, place a piece of tape on the needle plate to serve as a guide for where to line up your fabric so that you can achieve the desired seam width.
Remove the sewing machine guide before sewing. Sew a quick test on scrap fabric, then use the lines on the sewing machine guide to verify you've sewn the seam width you were expecting.
Point Turner: When sewing fabric rights side together, often a corner or angle is created. A point turner comes in handy when turning right sides out. Use the point of the tool to gently push the fabric in order to achieve a nice flat shape.
Tip: It can be helpful in some cases to clip away the bulk of the seam allowance. Don't clip off too much; just remove enough that the seam lays flat and you can create a nice point/corner.